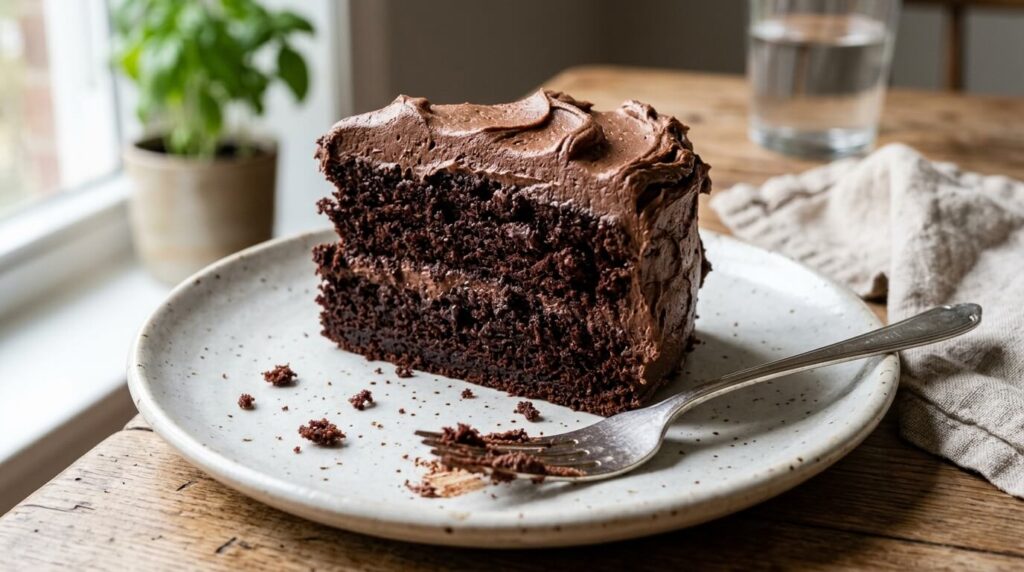
I am completely obsessed with finding the absolute perfect dessert, but I am equally lazy when it comes to washing dishes. A giant, towering layer cake that looks like it belongs in a bakery window is fantastic. I love seeing a beautifully frosted slice on a plate. But the reality of getting there? Creaming butter and sugar for twenty minutes? Washing a heavy stand mixer bowl three times? Having flour explode all over my kitchen counter? Absolutely not. I just don't have the patience for it on a random Tuesday evening when the sugar cravings hit.
This is a ridiculously moist chocolate cake recipe that’s as simple as it is totally foolproof. The batter is hit with an assertive splash of boiling hot coffee that adds a stack of flavour, then bakes in just 35 minutes. One bowl. A whisk. A spoon. No heavy stand mixer to scrub out – yay!
I am a little fussy about chocolate cake recipes because a pale, dry slice of cake just doesn’t rock my boat. Give me a dark, sticky crumb! A squishy texture! Frosting that literally melts into the cake layers! Yessss!
Thus, I tend to default to those cheap box mixes from the store. Also, guaranteed moisture. You can't really mess them up. They are basically engineered in a laboratory to survive absolute baker incompetence. But they always have that strange, artificial aftertaste that just reminds you it came out of a cardboard box.
But for those days when I want to keep things simple but still bake completely from scratch, this chocolate cake recipe is one I’ve made repeatedly over the past five years. It's the one my friends literally beg me to bring to dinner parties. The secret is a crazy thin, super liquidy batter. I know the phrase "watery batter" is not the most flattering, but that’s what this is and that’s exactly what makes this oven bake so insanely tasty. It infuses the crumb with moisture so it stays incredibly soft for days on end without drying out.
The Great Butter vs. Oil Debate
People get really, really mad at me when I post baking recipes that don't use butter. Look, I get it. Butter is life. Butter makes everything taste richer, rounder, and better. If we were making a vanilla pound cake or a batch of shortbread cookies, I would be standing right there with you, demanding the highest quality European butter money could buy. But we are making dark chocolate cake here. And in this specific arena, butter is actually your worst enemy.
Think about what butter does when it gets cold. If you melt butter and then stick it in the fridge, it turns back into a hard, solid brick. Now imagine that happening inside the microscopic crumb structure of your beautifully baked dessert. If you bake a cake with butter and then store the leftovers in the fridge (which you have to do if you use certain frostings), that butter chills and turns the entire slice totally rock hard. You basically have to microwave it just to get a fork through it.
Oil is the secret to ultimate moisture. Plain, boring, cheap canola or vegetable oil. Oil stays 100% liquid at room temperature, and more importantly, it stays liquid in the fridge. That means oil coats the flour proteins and traps the moisture permanently. You can leave a slice of this on the counter for four days, and it will be exactly as soft and springy as it was on day one. And because we are packing this full of dark cocoa powder, you won't taste the oil at all. I promise.
Why We Pour Boiling Water Into This Chocolate Cake Recipe
The other thing that absolutely terrifies beginner bakers when they read this recipe is the boiling liquid step. Most batters are thick. They look like frosting or heavy cream before they go into the oven. But not this one. At the very end of the mixing process, we are going to dump an entire cup of boiling hot coffee directly into the bowl.
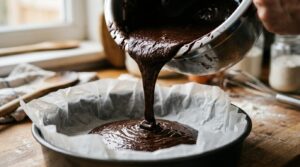
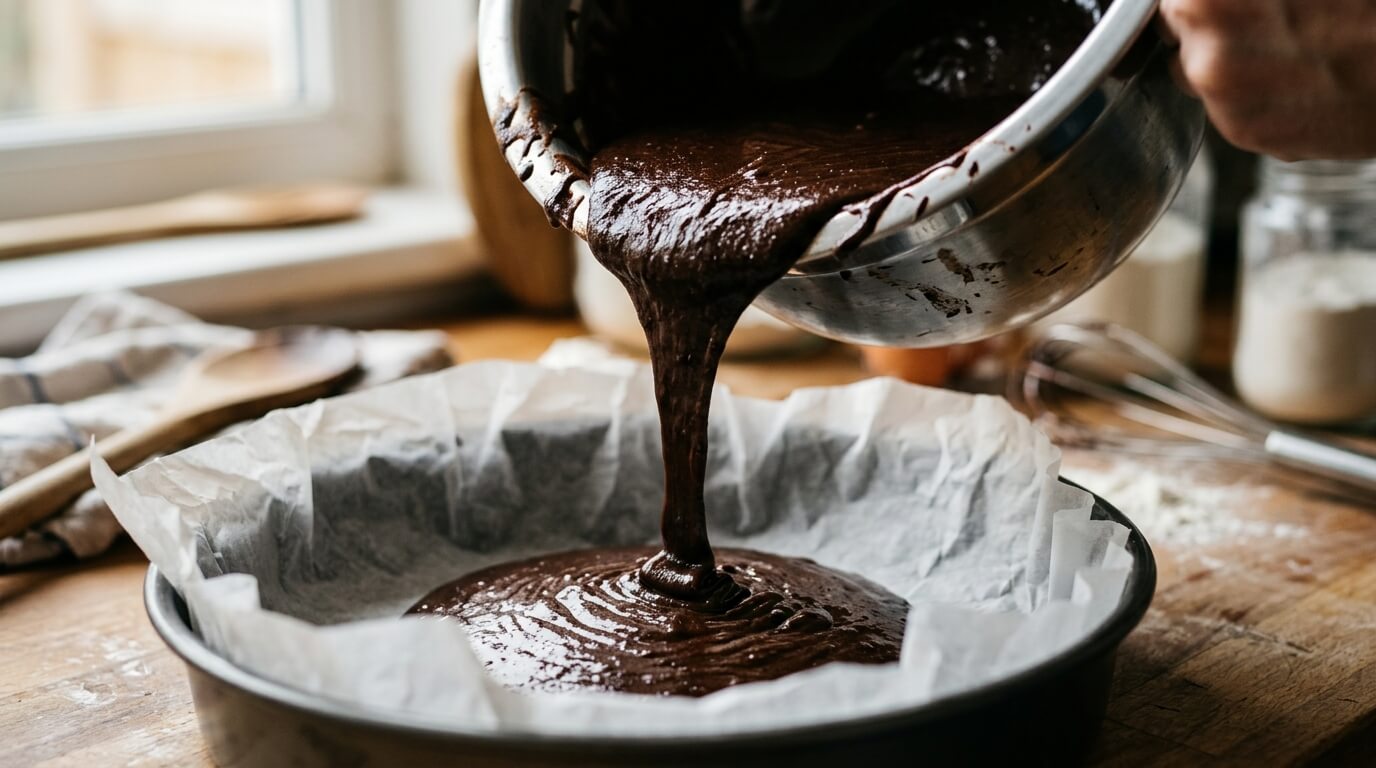
I know it sounds crazy. Your batter is going to thin out instantly. It will literally look like chocolate milk. You will stare into the bowl and think, "Well, I just ruined it. This is going to be a disaster." But you have to trust the process.
We do this for two very specific reasons. First, the heat. Unsweetened cocoa powder is a very stubborn ingredient. It holds all its rich, complex chocolate flavors trapped inside dry little granules. If you just mix it with cold milk or cold eggs, it stays a little flat. But when you hit it with boiling water—a process bakers call "blooming"—the heat forces the cocoa to open up and release its natural oils. It instantly makes the chocolate flavor ten times deeper and darker.
Second, the liquid volume. Flour absorbs moisture while it bakes. By overloading the batter with this incredibly thin, hot liquid, we are giving the flour so much moisture to drink up that it physically cannot dry out in the oven. It creates steam from the inside out, making the layers rise up super tall and fluffy.
Ingredient Deep Dive
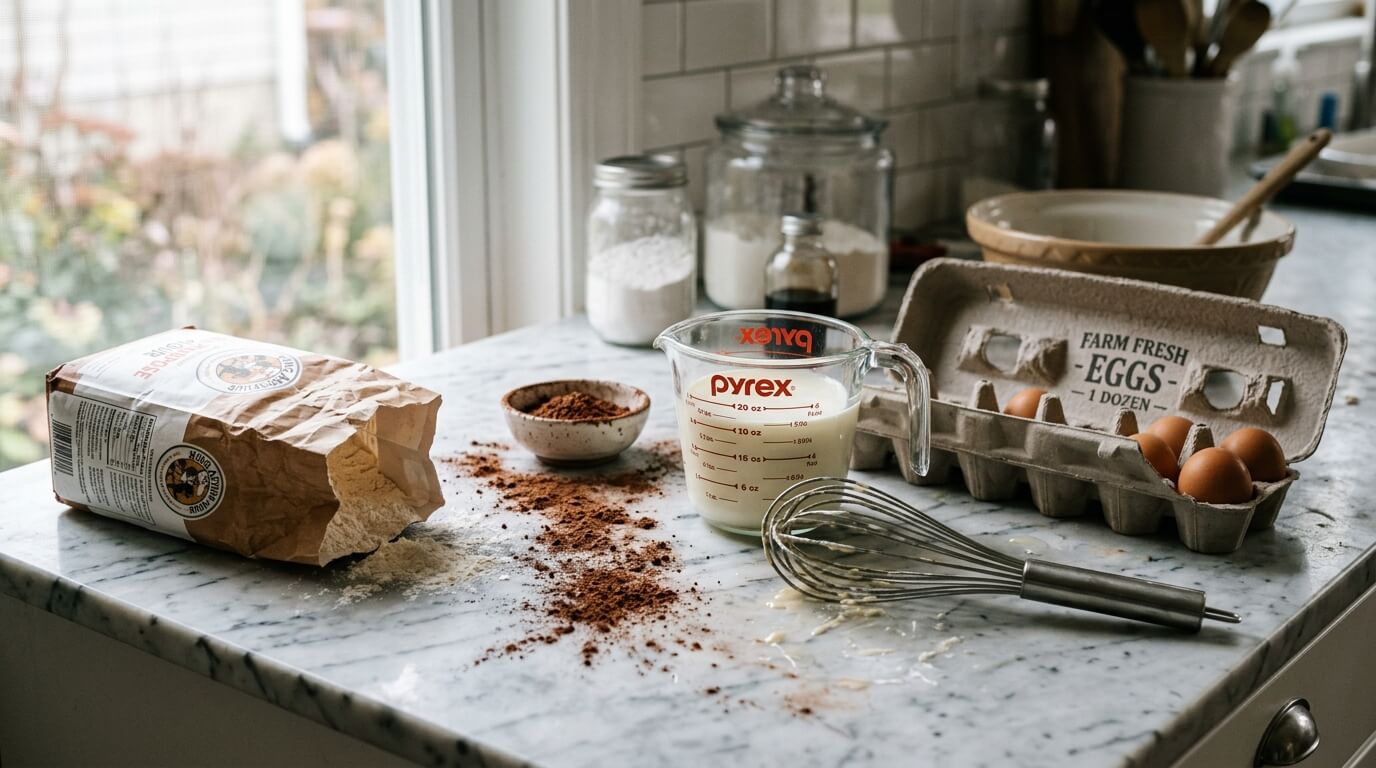
Because there are no fancy techniques here—literally just dumping things in a bowl and stirring—the actual ingredients you use matter a little bit more. Here’s all you need to make this foolproof chocolate cake recipe.
The Dry Stuff
- Flour – Standard all-purpose flour here. No need to go hunting for fancy, expensive cake flour. Cake flour has less protein, which is great for delicate white cakes, but this recipe has so much moisture that regular cheap flour works perfectly without making it chewy.
- Sugar – Plain white granulated sugar. It dissolves perfectly in the hot liquid later. I don't use brown sugar here because the molasses in brown sugar competes too much with the dark cocoa flavor. We want the chocolate to be the absolute star of the show.
- Cocoa powder – Unsweetened cocoa powder. This is where all the chocolate flavour comes from, so try to use a decent one if you can! I usually just grab standard Hershey's from the baking aisle, but if you want to splurge on a fancy Dutch-processed cocoa, your cake will turn out looking almost black and incredibly rich.
- Baking powder & Baking soda – We need both for maximum lift. This batter is incredibly heavy because of all the liquid we add. Baking powder gives it an initial lift, and the baking soda reacts aggressively with the buttermilk to create massive air bubbles that push the cake up.
- Salt – Chocolate absolutely loves salt! Don’t shortchange yourself here. A full teaspoon of standard table salt cuts through the sweetness and actually makes your brain perceive the chocolate flavor as stronger.
The Wet Stuff
- Oil – Like we talked about before, use canola oil, vegetable oil, or sunflower oil. Do not use extra virgin olive oil unless you want your dessert to taste like a salad dressing. You need a neutral oil with zero flavor.
- Buttermilk – This adds tang and makes the crumb incredibly tender. The acid in the buttermilk breaks down the tough gluten strands in the flour. If you don't have a carton of buttermilk sitting in your fridge (because seriously, who does?), just make a quick substitute. Mix 1 tablespoon of white vinegar or lemon juice into a measuring cup, fill the rest with regular milk to the 1-cup line, and let it sit on the counter for 5 minutes. It will curdle and thicken up. Instant fake buttermilk!
- Eggs – Two large eggs. Try to remember to take them out of the fridge an hour before you bake so they come to room temperature. Cold eggs will shock the batter and make it harder to mix smoothly.
- Vanilla Extract – For that bakery-style flavour. I never actually measure vanilla, I just pour it in until it smells right. But a good splash (about two teaspoons) does the trick.
- Boiling hot coffee – We’re using exactly one cup of very hot, freshly brewed black coffee. The heat blooms the cocoa, and the coffee notes actually amplify the chocolate flavor without making it taste like a mocha. You can’t really taste the coffee at all, to be honest. But if you are super sensitive to caffeine, serving this to little kids, or you just hate coffee, substitute it perfectly with plain boiling water. Just pop a mug of water in the microwave until it bubbles.
How to Make This Ridiculously Easy Chocolate Cake Recipe
It may become my life's mission to create other baking recipes that require zero heavy machinery. Seriously, you just need two bowls and a whisk. I don't even bother sifting the flour unless it looks insanely clumpy.
- Prep your battle station: Turn your oven to 350°F (175°C). Do not trust your oven's preheat beep; wait an extra ten minutes to make sure it's actually hot. Grab two 8-inch round cake pans. Spray the absolute life out of them with non-stick baking spray, and then line the bottoms with parchment paper circles. Do not skip the parchment paper. This cake is so sticky and moist that if you skip the paper, half your cake will be permanently glued to the pan.
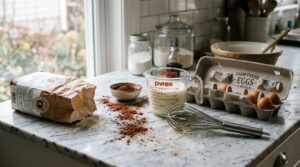
- The Dry Bowl: Find the absolute biggest bowl in your kitchen. Dump in the flour, sugar, cocoa powder, baking powder, baking soda, and salt. Take a whisk and just stir it around until it looks like a uniform pile of light brown dirt.
- The Wet Bowl: In a smaller bowl (or a big glass measuring jug to save dishes), whisk together your oil, buttermilk, eggs, and vanilla. Whisk it pretty aggressively until the egg yolks are completely smashed and everything is combined.
- The Mash-Up: Pour the wet bowl ingredients directly into the giant dry bowl. Grab a spatula or a wooden spoon and stir it. It is going to be incredibly thick, sticky, and honestly pretty ugly. Just stir it until you don't see any dry pockets of white flour hiding at the bottom of the bowl. Stop stirring the exact second the flour disappears. Overmixing causes tough cakes.
- The Hot Pour: Now for the magic. Pour your boiling hot coffee (or boiling water) right into the batter. Do this slowly so you don't splash boiling liquid onto your hands. Gently whisk it in. At first, it will look like a separated, gross mess. Keep whisking gently. Suddenly, it will come together into a completely smooth, glossy, super thin batter. It will look exactly like chocolate milk.
- Bake It: Carefully divide that liquidy batter evenly between your two prepared pans. Slide them onto the middle rack of your oven and shut the door.
- The Waiting Game: Bake for 30 to 35 minutes. Do not open the oven door for the first 25 minutes! A sudden rush of cold air will cause the rising centers to collapse, leaving you with a crater. At 30 minutes, open the door and poke the exact center of one layer with a wooden toothpick. If it comes out clean, or with just a few sticky crumbs attached, take them out immediately. If the toothpick is covered in wet batter, give them 3 to 5 more minutes.
Troubleshooting: Why Did My Cake Fail?
Even though this is the easiest recipe on the planet, things can still go wrong. Baking is basically just an edible chemistry experiment. Here are the top three reasons people message me saying they messed this up:
"My cake sank in the middle!" This is almost always caused by opening the oven door too early. The middle of the cake takes the longest to set. If you open the door at the 15-minute mark, the cold air hits the unset batter, the air bubbles pop, and the whole thing caves in. It can also happen if your baking soda is expired. Yes, baking soda actually goes bad! Buy a fresh box every six months.
"My cake stuck to the pan and broke into a million pieces!" I warned you about the parchment paper! You cannot skip the parchment paper for this specific recipe. It is way too moist. Also, you cannot try to remove the layers from the pans while they are still piping hot. They are too fragile. Let them cool in the metal pans on your counter for exactly 15 minutes before you try to flip them out.
"My batter overflowed in the oven and started a fire!" This means your pans were too small. You have to use pans with high sides (at least 2 inches tall). This batter bubbles up aggressively. If you only have cheap, shallow pans from the dollar store, do not fill them more than halfway! Put any extra batter into a muffin tin to make a few quick cupcakes instead of risking an oven fire.
Let's Talk About Frosting and Serving
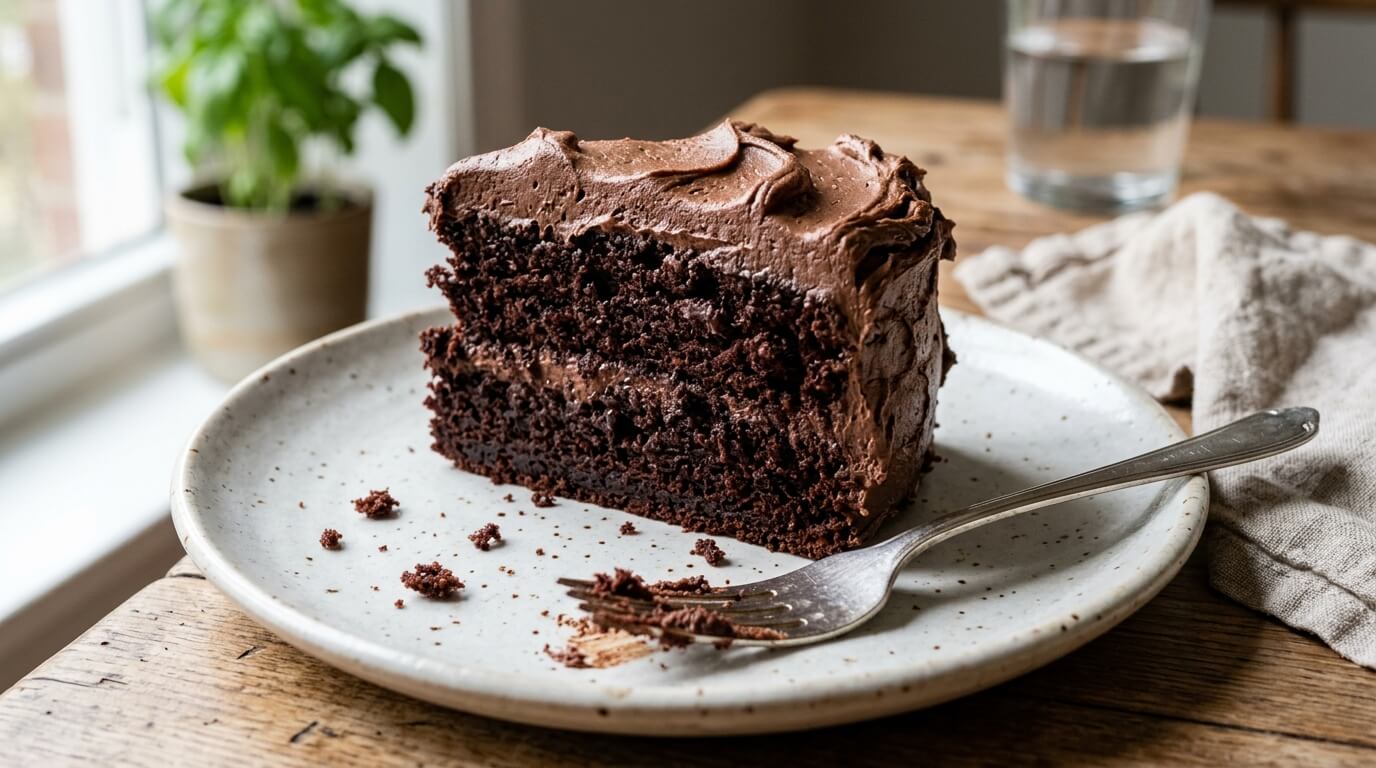
Once you flip your layers out onto a wire rack, you have to let them cool completely to room temperature. I mean zero heat left in them at all. If you put frosting on a warm cake, the butter in the frosting will instantly melt, and your beautiful top layer will literally slide off the bottom layer and crash onto the floor. Patience is key here.
Because the base of this dessert is so incredibly chocolatey and rich, you can honestly pair it with almost anything.
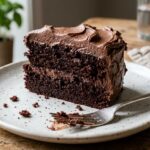
If I am taking this to a birthday party, I go all out with a classic chocolate American buttercream. I whip two sticks of soft butter until pale, add three cups of powdered sugar, half a cup of cocoa powder, a splash of vanilla, and a tiny bit of heavy cream. It creates a thick, super sweet, bakery-style frosting that kids absolutely go crazy for.
If I am making it for adults, I actually prefer a tangy cream cheese frosting. The sour tang of the cream cheese cuts right through the intense sweetness of the cake and perfectly balances the dark cocoa flavor. Just make sure your cream cheese is totally room temperature before you start mixing it, otherwise you end up with weird white lumps in your frosting.
And honestly, half the time I don't even bother making frosting at all. I just put the layers on a plate, grab a fine mesh strainer, and dust a heavy layer of powdered sugar right over the top. Serve a giant slice on a plate, throw it in the microwave for ten seconds so it gets slightly warm, and dump a huge scoop of cold vanilla bean ice cream right on top. The hot and cold contrast is out of this world.
Storage and Freezing Tips
If you somehow do not eat this entire chocolate cake recipe in one sitting, you need to know how to store it. Thanks to the oil in the batter, this cake is incredibly resilient.
If you frosted it with standard buttercream, you can just leave it sitting out on the kitchen counter. Just cover the exposed, cut edges of the cake with a piece of plastic wrap or press a piece of parchment paper against it so the air doesn't dry it out. It will stay soft and perfect for up to four days at room temperature.
If you used cream cheese frosting, food safety rules dictate that it has to go into the refrigerator. The fridge environment is very dry, so make sure the whole thing is tightly sealed in an airtight container. When you want a slice, please do yourself a favor and let it sit on the counter for twenty minutes to take the chill off before eating it. Cold flavors are muted flavors.
You can also absolutely freeze these layers. I do it all the time when I want to get ahead of schedule for a party. Let the unfrosted layers cool completely. Wrap each layer individually in a tight layer of plastic wrap, and then wrap them again in aluminum foil. They will survive in the freezer for up to three months. When you are ready to assemble, just take them out of the freezer and let them thaw on the counter for a few hours. Frosting a slightly frozen layer is actually much easier because it doesn't leave crumbs everywhere!
The Best Moist Chocolate Cake (Easy & From Scratch)
Ingredients
Equipment
Method
- Preheat oven to 350°F (175°C). Grease two 8-inch round cake pans and line the bottoms with parchment paper.
- In your largest bowl, whisk together the dry ingredients: flour, sugar, cocoa powder, baking powder, baking soda, and salt.
- In a separate jug, whisk the wet ingredients: oil, buttermilk, eggs, and vanilla extract until well combined.

- Pour the wet mixture into the dry ingredients. Stir gently with a spatula just until the white flour disappears. Stop immediately to avoid tough cake!
- Carefully pour the boiling hot coffee into the batter. Whisk gently until the batter becomes completely smooth and very thin (like chocolate milk).
- Divide the batter evenly between the two prepared pans.
- Bake on the middle rack for 30 to 35 minutes. Do not open the oven door for the first 25 minutes! Check with a toothpick in the center.
- Let the cakes cool in the pans for 15 minutes before turning them out onto wire racks to cool completely before frosting.